[ad_1]
Shared drives give teams of people who use Google Workspace access to a common set of files and eliminates the need to check the Share settings for individual files.
Image: Andy Wolber/TechRepublic
Nearly all editions of Google Workspace Business, Education, and Enterprise editions give you and your team access to Shared drives. (Note: Business Starter lacks Shared Drives). Shared drives are a great way for a group of people to work with files and folders, without the need to share access to each individual item.
In my work with organizations that use Google Workspace, though, I find that few use Shared drives as much as I would like. In hopes of encouraging more people to use Shared drives, here are the five Shared drive tips that people at organizations that use Google Workspace should know.
SEE: Google Sheets: Tips and tricks (free PDF) (TechRepublic)
1. Team files should be on a Shared drive
For group work, a file on a shared drive is better than a file shared with other people from My Drive (Figure A). Files on a shared drive are “owned” by the shared drive, rather than by whoever created the file. For example, a file you create on My Drive, then share with others, continues to be owned by you. In contrast, a file that you create on a Shared drive is owned by the Shared drive and is automatically available to every other person who is a member of that Shared drive.
Figure A

Google Workspace works well when people use a Shared drive for files. Files on a Shared drive are available to all people with access to the shared drive.
2. Shared drive Managers: Make most members Contributors
I recommend that most members of a Shared Drive be configured as Contributors (Figure B). The Contributor role allows people to add and edit files, but does not allow them to move or delete files. Of course, if you want to restrict access even further, you can add members as Commenters (which lets people only view and comment on files) or Viewers (which provides view-only access). However, Commenter and Viewer roles are rather restrictive and prevent people from adding content.
Figure B
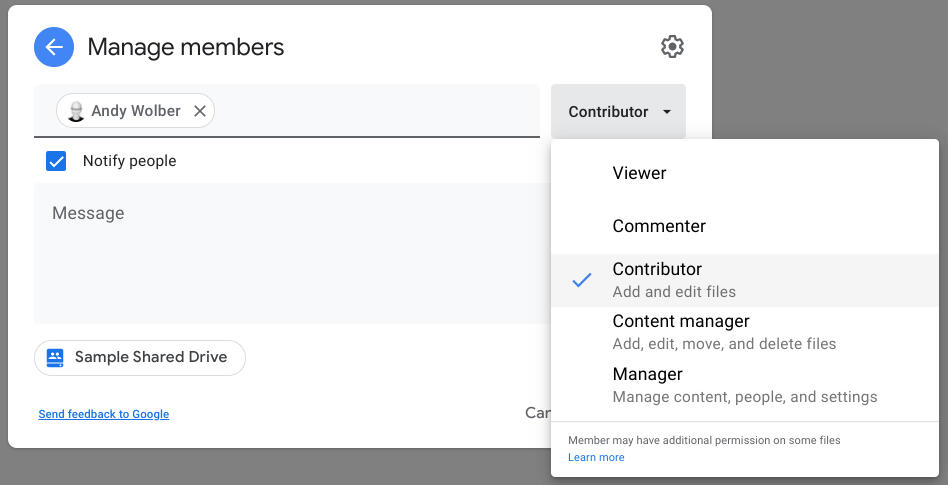
When a Shared drive Manager adds people, most should receive Contributor access, which lets people add and edit files. Content managers and managers additionally may move or delete files.
Why not make everyone a Content Manager or Manager? Too often, people with these permissions may rearrange folders and files on a Shared drive to suit their personal preferences, without realizing that their changes affect the structure of the Shared drive for all members of the shared drive. If you’re a Shared drive Manager, think carefully before you give anyone either a Manager or Content manager role.
3. Use different Shared drives for different teams and projects
Create a Shared drive not only for each different team of people, but also for distinct projects. The need for a different Shared drive for each different team may be obvious; since only members of a Shared drive can access the Shared drive, you’ll need a separate Shared drive for each distinct set of people who need shared access to files.
Additionally, I recommend you also create a separate Shared drive for major and/or distinct projects, as well. For example, you might use a Shared drive for client/customer file, a separate Shared drive for administrative files, a separate Shared drive for a new pilot project, etc.
4. Move files from My Drive to a Shared drive
Once you have created Shared drives and added members to Shared drives, you may move files from individual My Drive storage to a Shared Drive. Since different files may be owned by different people, each person on your team that owns files used by the team may need to move files to the Shared drive. Generally, I suggest people move files methodically, and verify that items have transferred as expected.
Google provides at least four ways to move folders and files into a Shared drive:
- Drag-and-drop files from My Drive to the Shared drive.
- Select files, then choose the three-vertical dot menu and Move to the Shared drive (Figure C).
- Upload files or folders from your local drive.
- If you use Google Drive for desktop, drag-and-drop files from your local drive to a Shared drive.
Figure C

Once people have Contributor (or greater) access to a Shared drive, they may move files from My Drive or their local system to the Shared drive. For example, select files, then use the Move to menu option, as shown, to move items to a Shared drive.
5. Create new files on the Shared drive
When you navigate to a Shared drive in Chrome on the web, you may then use the +New option to create a new Google Doc, Sheet, Slide, Drawing, Form and so on, within that Shared drive (Figure D). New items you create this way are automatically available to the other members of the Shared drive. If you get in the habit of adding new files to your Shared drive, you will minimize the need to move files from My Drive to your Shared drive at a later time. Additionally, you’ll also reduce the need to use the Share button, since team members will already have access as members of the Shared drive.
Figure D
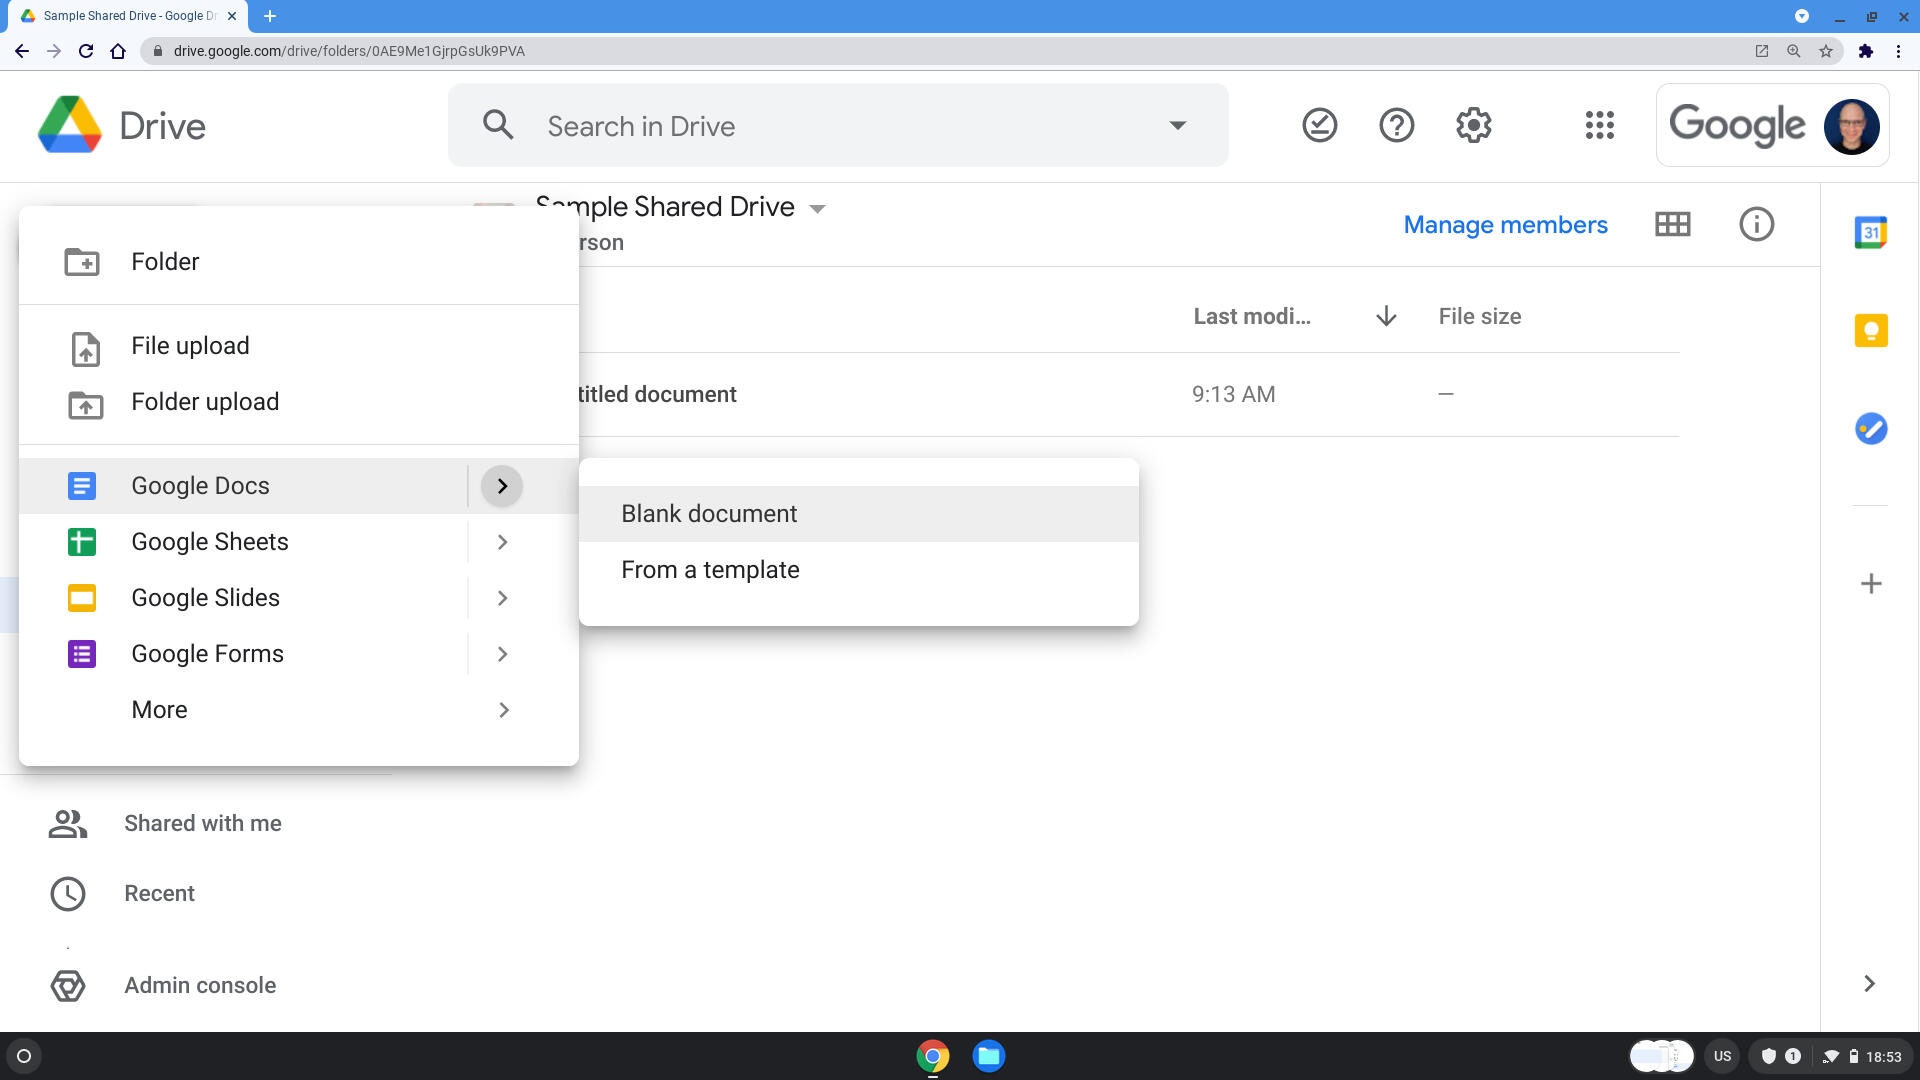
On the web, if you navigate to your Shared drive in your browser, you may use the +New button to create new files directly within the Shared drive. These items will automatically be available to other members of the Shared drive.
How do you and your team use Shared drives?
How do you decide when a new Shared drive is needed versus when to simply add a new folder to an existing Shared drive? What types of files do you keep on My Drive? How did you make the transition from files on My Drive to files on a Shared drive? Let me know how you and your team use Shared drives, either with a comment below or on Twitter (@awolber).

Also see
[ad_2]
Source link